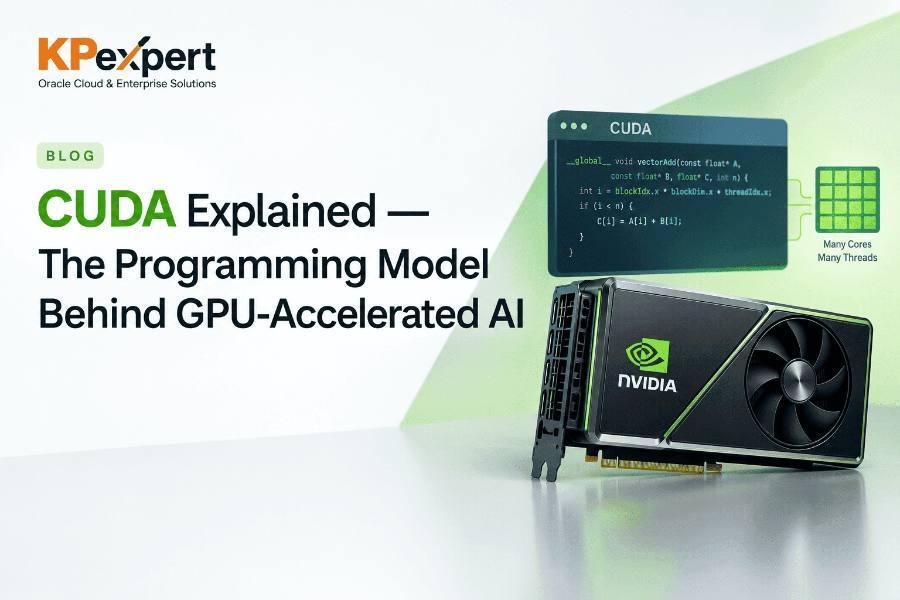
If you've worked with PyTorch or TensorFlow, you've already used CUDA — you just haven't seen it directly. This post pulls back that curtain: what CUDA is, how NVIDIA GPUs actually organize parallel work, and how the same underlying model shows up whether you're writing a raw kernel in C++ or letting CuPy handle everything with a single line of Python.
CUDA (Compute Unified Device Architecture) is a parallel computing platform and API created by NVIDIA. It lets developers use CUDA-enabled GPUs for general-purpose computing — not just graphics — a category of work usually called GPGPU (general-purpose computing on GPUs).
Practically, CUDA is what lets you write code that runs on thousands of GPU cores simultaneously instead of writing a normal sequential program for a CPU. Every major deep learning framework — PyTorch, TensorFlow, JAX — is built on top of it, usually through NVIDIA's Deep Learning SDK, which includes libraries like cuDNN for the neural network primitives those frameworks rely on internally.
CUDA itself is installed via the CUDA Toolkit, and this is where a lot of developers hit their first real friction point: CUDA versions matter, a lot. Specific hardware supports specific ranges of CUDA versions, and specific libraries or frameworks often only work correctly with specific CUDA versions. It's genuinely common to need multiple CUDA versions installed side by side on the same machine.
Here's the catch: CUDA doesn't ship its own version manager. Instead, the standard practice is environment isolation using Conda, Mamba, or Docker.
conda create -n cuda118 python=3.10 cudatoolkit=11.8
conda activate cuda118
docker run --gpus all -it nvidia/cuda:11.8.0-devel-ubuntu22.04
Docker in particular has become the default for anything production-bound, since it guarantees the exact CUDA version, driver compatibility, and library set travels with the container rather than depending on whatever happens to be installed on the host machine.
This is the part of CUDA that trips up most people coming from regular CPU programming, so it's worth being precise about the terminology.
The relationship that matters most: you write code for a single thread, and CUDA runs that same code across every thread in a block, and every block in a grid. The CUDA runtime decides how to distribute blocks across the GPU's available SMs — you don't control that mapping directly, and it can vary based on how many SMs the specific GPU has.
Just like execution, CUDA memory is organized in a hierarchy — and picking the right memory tier for the right job is one of the biggest levers for performance.
There's also constant memory (read-only, cached, very fast if every thread reads the same value, limited to 64KB) and local memory, which is private per-thread but actually physically lives in global memory — used automatically when a thread's registers overflow. That register spillover is a common, often invisible, source of slowdowns in poorly tuned kernels.
Every CUDA program, regardless of what it's doing, follows the same basic four-step pattern:
This flow explains why naive GPU code can sometimes be slower than CPU code for small workloads — the PCIe transfer overhead in steps 1 and 4 can dominate if the actual computation in step 3 is trivial. It's also the reason technologies like GPUDirect RDMA and GPUDirect Storage exist: they let data move directly between GPU memory and network or storage devices, bypassing the CPU entirely and cutting out one of these round trips.
When a kernel misbehaves or underperforms, these are the standard tools for figuring out why:
You don't have to write raw CUDA C++ to use CUDA. There's a whole ladder of abstraction, and where you land on it is mostly a trade-off between control and productivity. Here's the exact same vector-addition operation, written four different ways.
1. Raw CUDA C++
Full manual control: you write the kernel, manage device memory allocation, and handle host-to-device transfers explicitly.
__global__ void vectorAdd(float *a, float *b, float *c, int n) {
    int i = blockIdx.x * blockDim.x + threadIdx.x;
    if (i < n) {
        c[i] = a[i] + b[i];
    }
}

int main() {
    float *d_a, *d_b, *d_c;
    cudaMalloc(&d_a, size);
    cudaMalloc(&d_b, size);
    cudaMalloc(&d_c, size);

    cudaMemcpy(d_a, a, size, cudaMemcpyHostToDevice);
    cudaMemcpy(d_b, b, size, cudaMemcpyHostToDevice);

    vectorAdd<<<blocksPerGrid, threadsPerBlock>>>(d_a, d_b, d_c, n);

    cudaMemcpy(c, d_c, size, cudaMemcpyDeviceToHost);
    cudaFree(d_a); cudaFree(d_b); cudaFree(d_c);
}
2. PyCUDA
The kernel itself is still raw CUDA C, but it's embedded as a string inside Python, and PyCUDA handles a lot of the boilerplate around memory management.
import pycuda.autoinit
import pycuda.driver as cuda
from pycuda.compiler import SourceModule
import numpy as np

mod = SourceModule("""
__global__ void vectorAdd(float *a, float *b, float *c, int n) {
    int i = blockIdx.x * blockDim.x + threadIdx.x;
    if (i < n) c[i] = a[i] + b[i];
}
""")

vectorAdd = mod.get_function("vectorAdd")
vectorAdd(a_gpu, b_gpu, c_gpu, np.int32(n),
          block=(256, 1, 1), grid=(blocks, 1, 1))
3. Numba
The kernel is now actual Python, compiled Just-In-Time (JIT) to run on the GPU via the @cuda.jit decorator. No CUDA C required at all — and memory management becomes largely automatic.
from numba import cuda
import numpy as np

@cuda.jit
def vector_add(a, b, c):
    i = cuda.grid(1)
    if i < a.size:
        c[i] = a[i] + b[i]

vector_add[blocks_per_grid, threads_per_block](a, b, c)
4. CuPy
No kernel, no explicit memory management — CuPy mirrors the NumPy API almost exactly, and operations like addition just run on the GPU transparently. This is the level most data scientists actually work at day to day.
import cupy as cp

a = cp.array([1, 2, 3, 4, 5])
b = cp.array([10, 20, 30, 40, 50])
c = a + b  # runs on the GPU, no kernel code needed
On top of the core CUDA runtime, NVIDIA ships a large set of pre-built libraries so you rarely need to write low-level kernels for common operations:
nvidia-smicuDNN deserves a special mention: it's technically separate from the core CUDA Toolkit, distributed as part of NVIDIA's Deep Learning SDK, and it's the single library most responsible for how fast your PyTorch or TensorFlow training loop actually runs. When people talk about a GPU being "well optimized for deep learning," a large part of what they mean is that cuDNN has tuned, hardware-specific implementations of the exact operations those frameworks use most.
Recap: what to take away
- CUDA lets GPUs run general-purpose parallel code, not just graphics — and it's the foundation every major deep learning framework is built on.
- The execution hierarchy (thread → warp → block → grid) is really about how the same kernel code gets replicated across thousands of parallel threads, scheduled by the GPU's SMs.
- Memory tier choice matters: registers and shared memory are fast but tiny; global memory is huge but slow — performance tuning is mostly about minimizing trips to global memory.
- You don't have to write raw CUDA C++. PyCUDA, Numba, and CuPy each trade some control for a lot of productivity, and most real projects mix levels depending on the task.